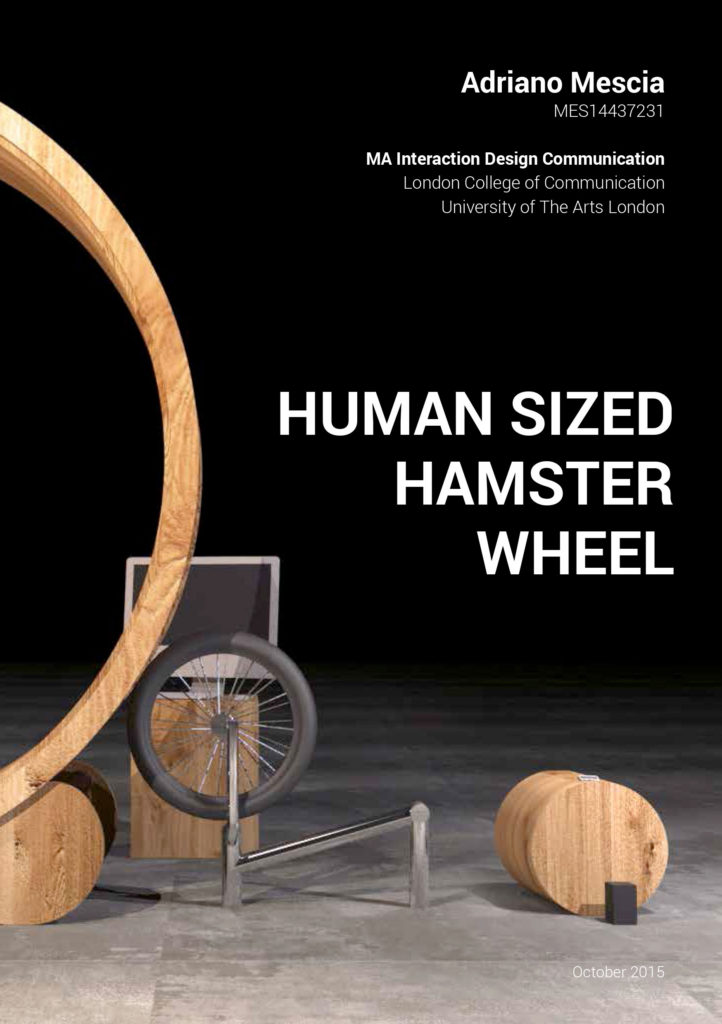
The project
This project is based on the theory of gamification (applying game elements to non-game activities), showing that when game elements are applied people’s behaviour changes, making them, in this case, more responsible towards energy-saving.
They will do this thanks to the “gamified” everyday activity of charging the phone, which is turned into a fun and profitable (users exercise and get fit in this way) activity.
Attached to the structure is an app which shows users performances and ranks them with other users (players). This feature is not to be underestimated as it adds extrinsic motivations for users, which will increase their engagement and satisfaction.
This project was exhibited at the 2015 Postgraduate Show at London College of Communication, UAL.
The making of
The design process is entirely documented in the blog section while here are the pictures portraying the physical construction of the wheel which took 5 days.
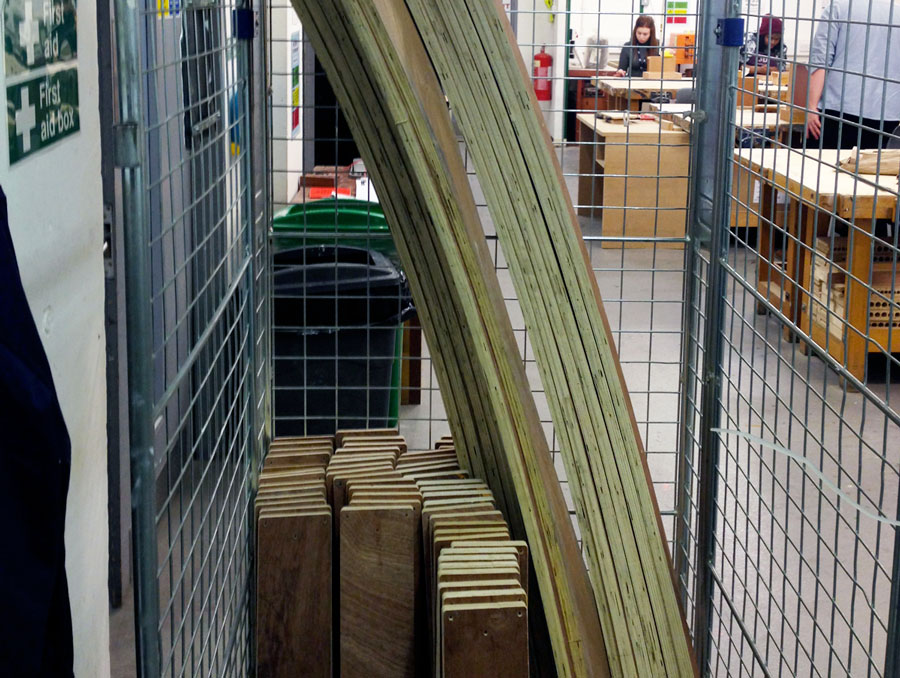
1. Plywood sheets cut by a water jet cutting machine were shipped to the university’s 3D workshop.
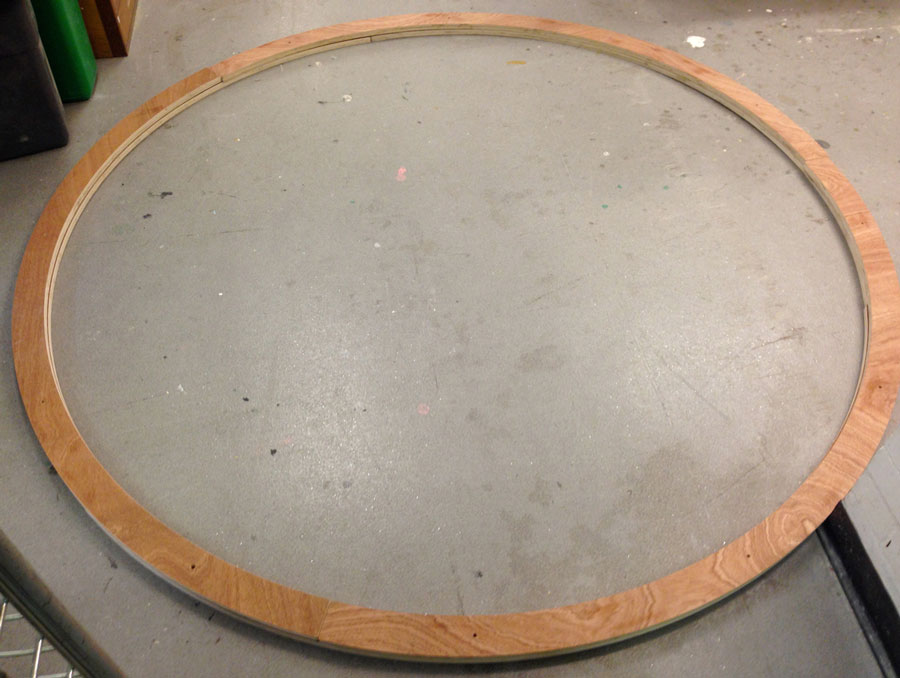
2. Two wooden rings, made up of 6 round pieces each are laid down on the floor.
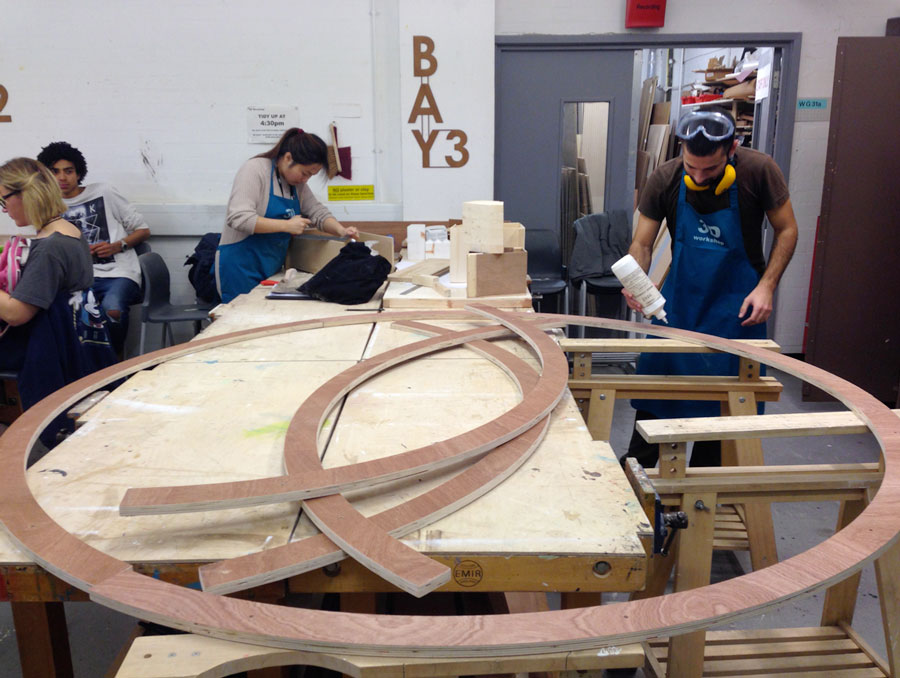
3. The round parts are glued together with wood glue.

4. Clamps are used to make sure the glue sticks perfectly to the wood.
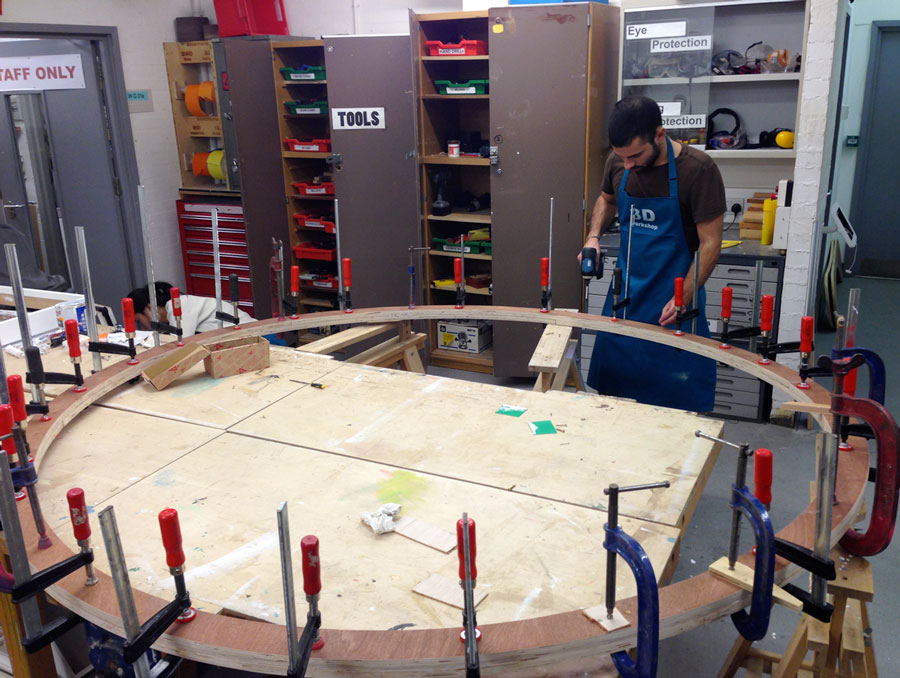
5. To furtherly ensure the fastening, wood screws are added after clamping.
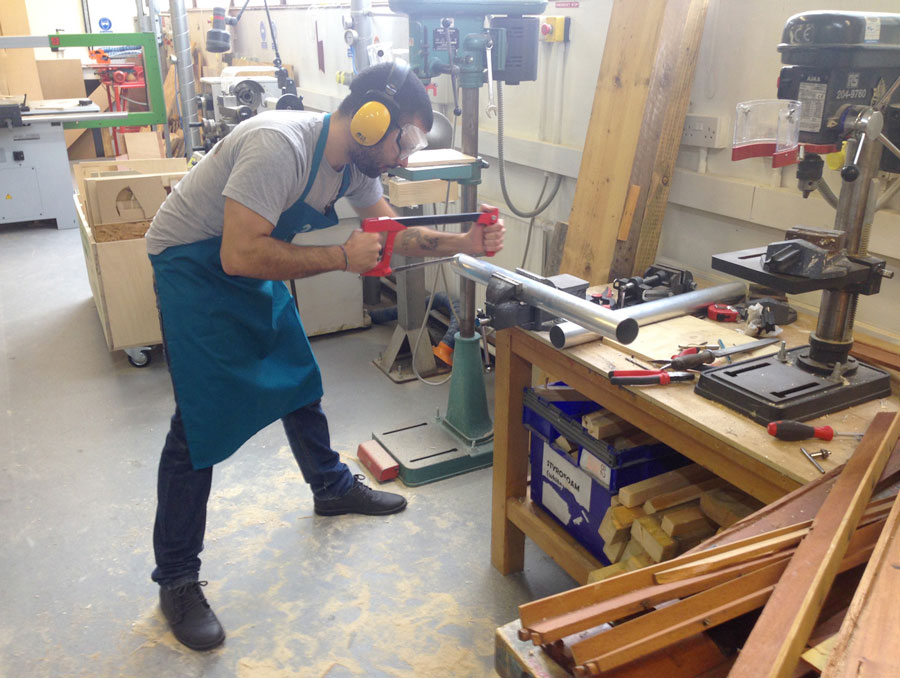
6. Aluminium pipes for the base are cut with a saw.
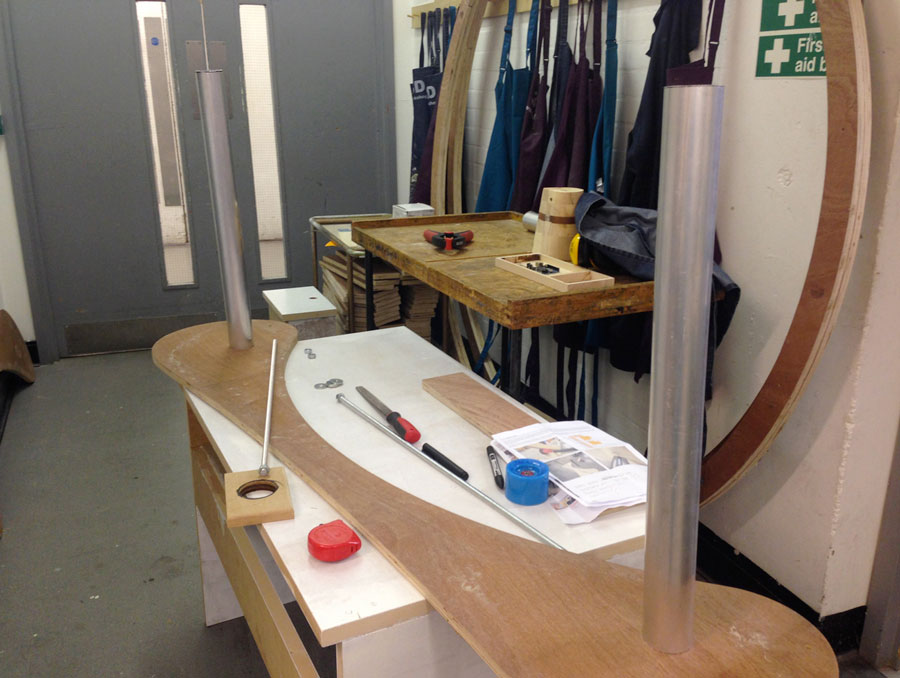
7. The pipes are embedded on the side of the base.
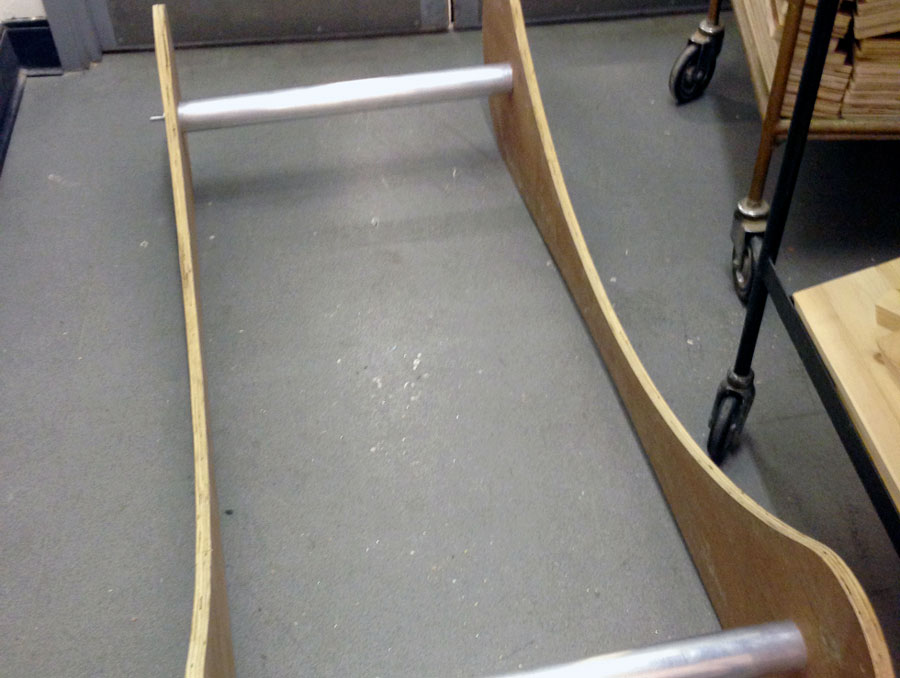
8. The base is made of two wooden parts kept together by two aluminium pipes and two threaded rods.
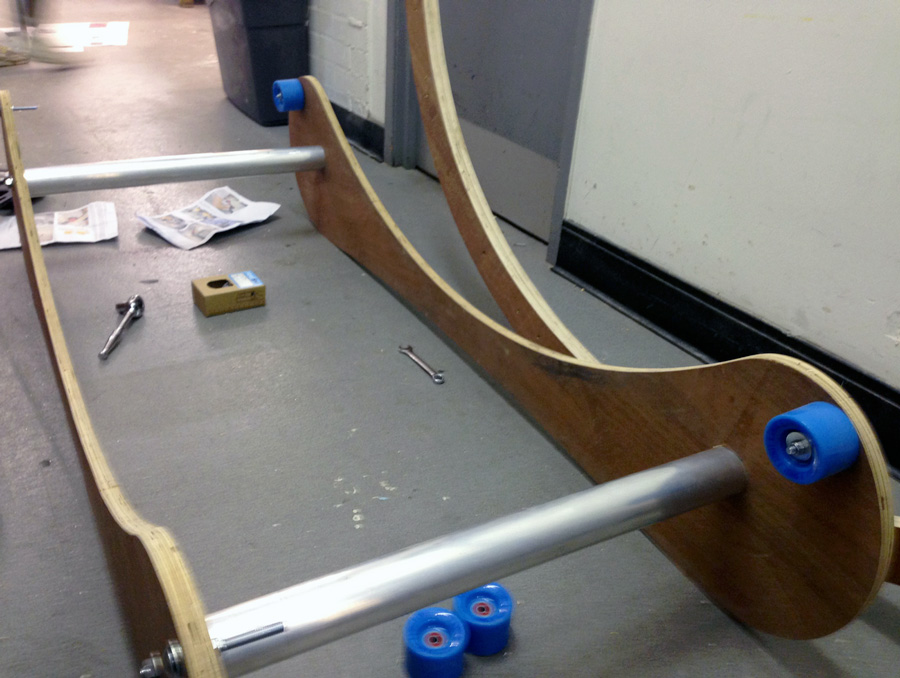
9. Skateboard wheels are attached to the base.
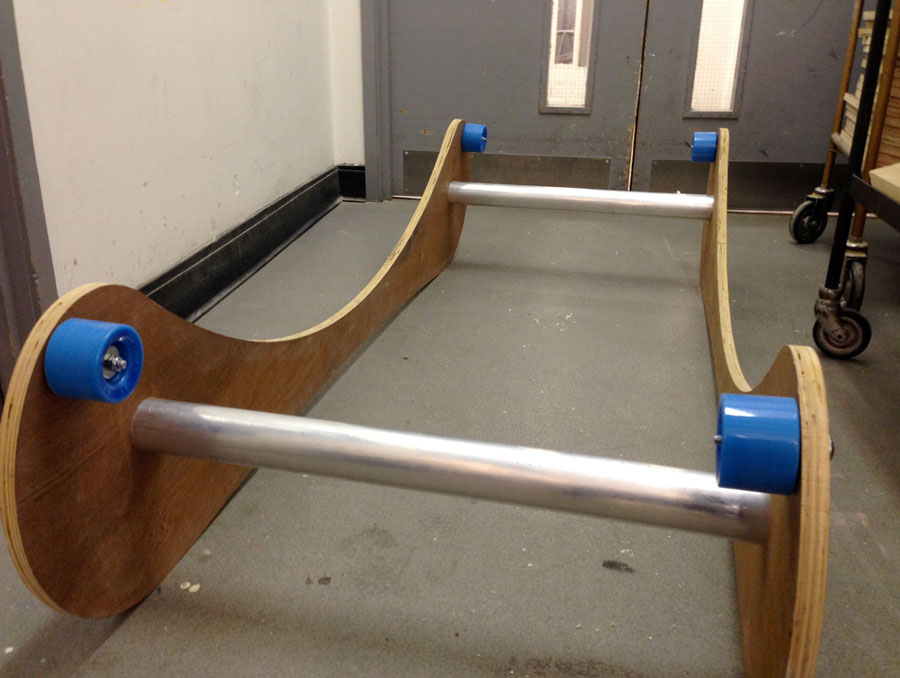
10. The base is complete with all the four skate wheels in place.
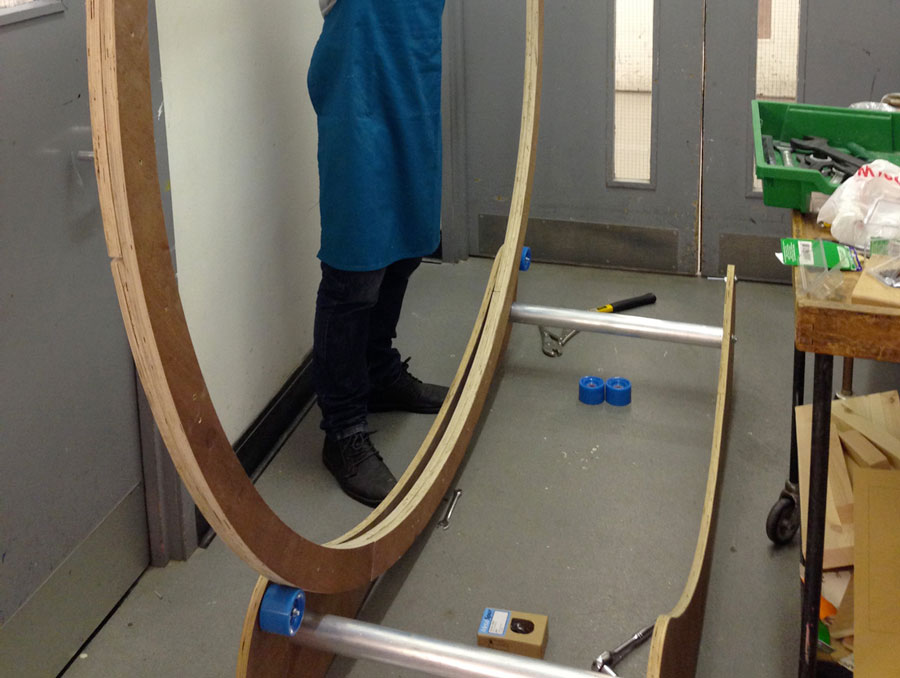
11. The rings are tested on the wheels making sure they rotate smoothly.
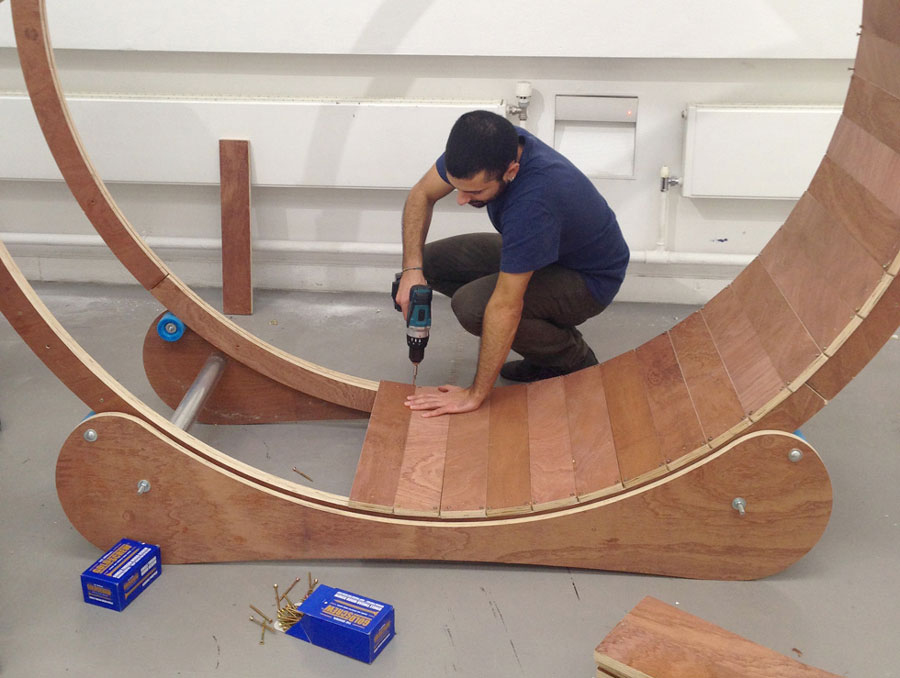
12. The wooden slats are fixed to the rings with wood screws.
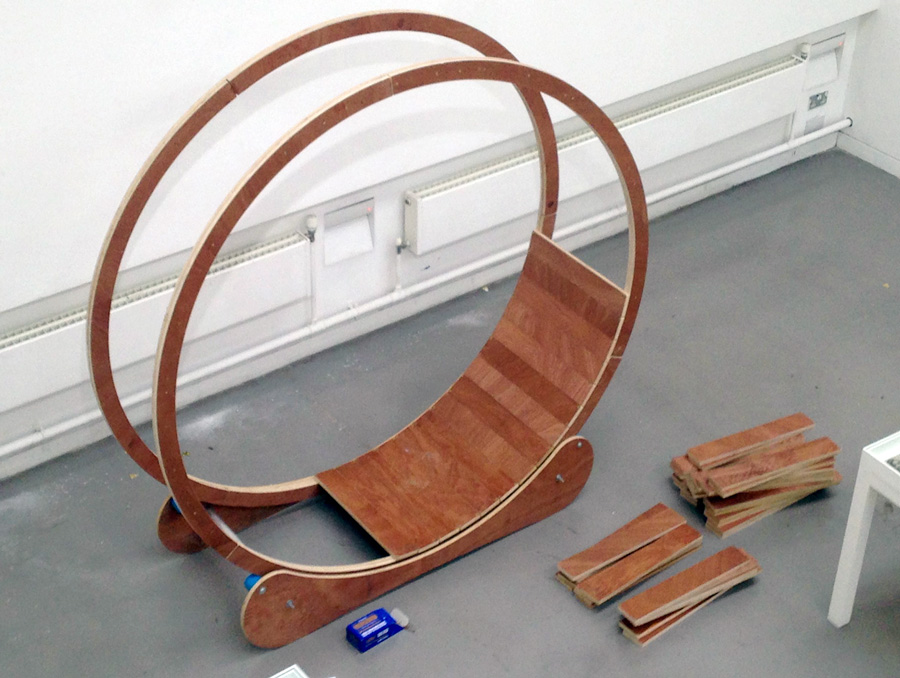
13. A quarter of the slats are fastened to the ring.
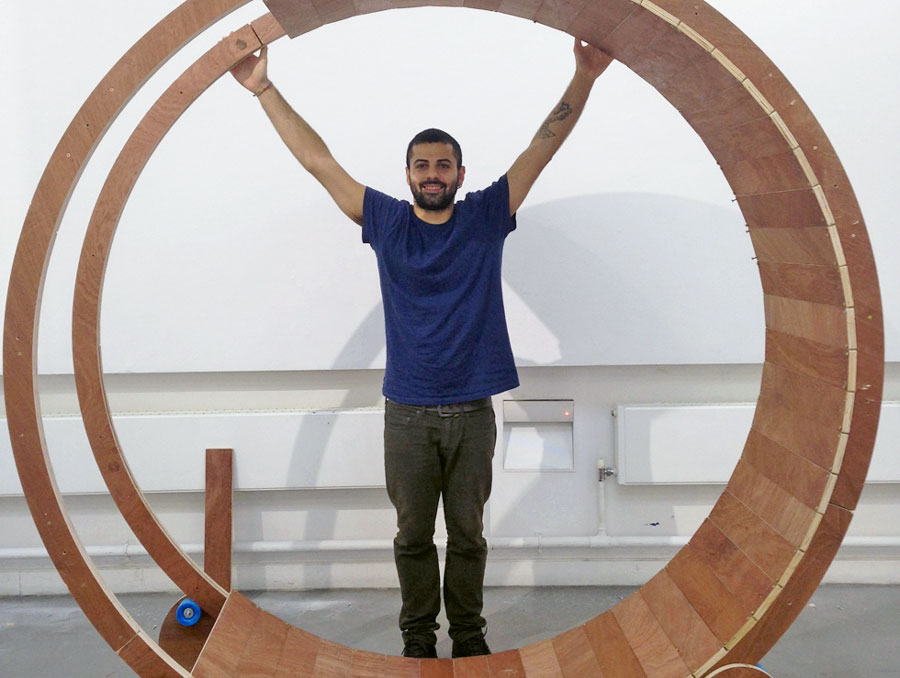
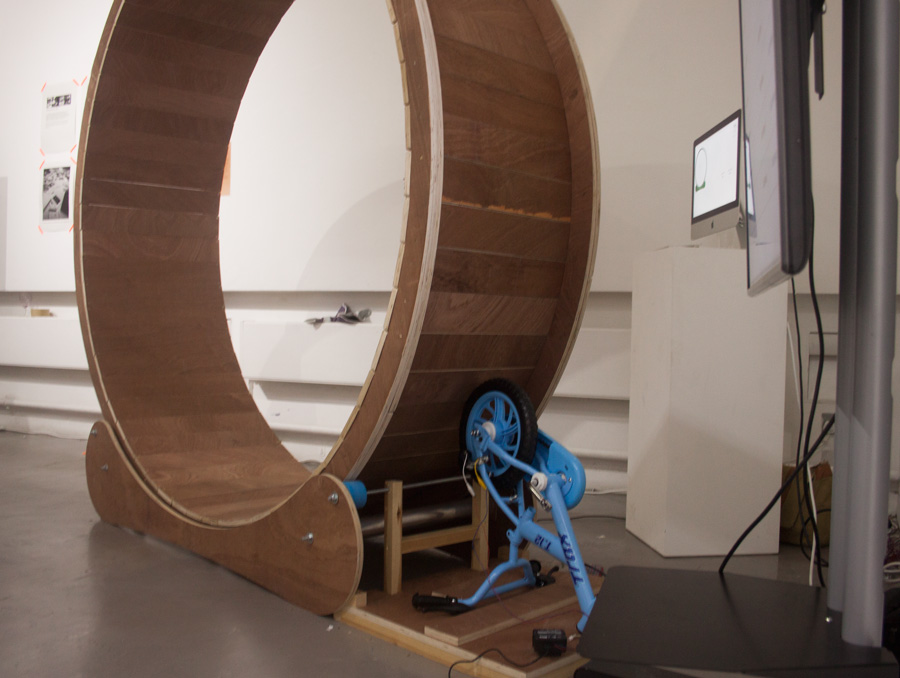
14. The wheel is almost ready.
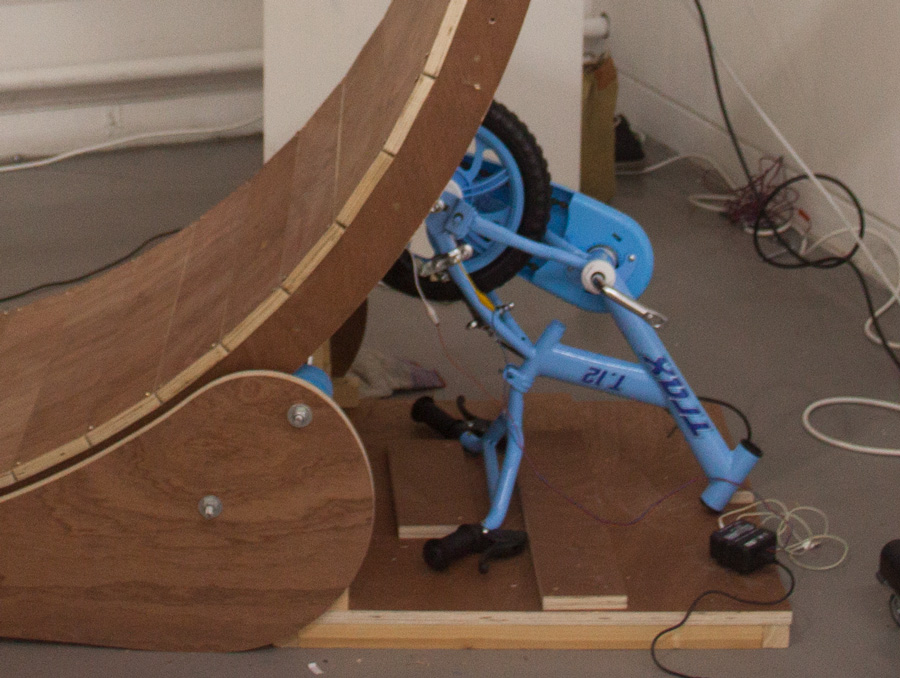
15. A kids bicycle with the handlebar in place of the seat is secured against the wheel on a wooden platform. Attached is also a dynamo and to it a phone charging cable.
16. Attaching the sensors to the base.
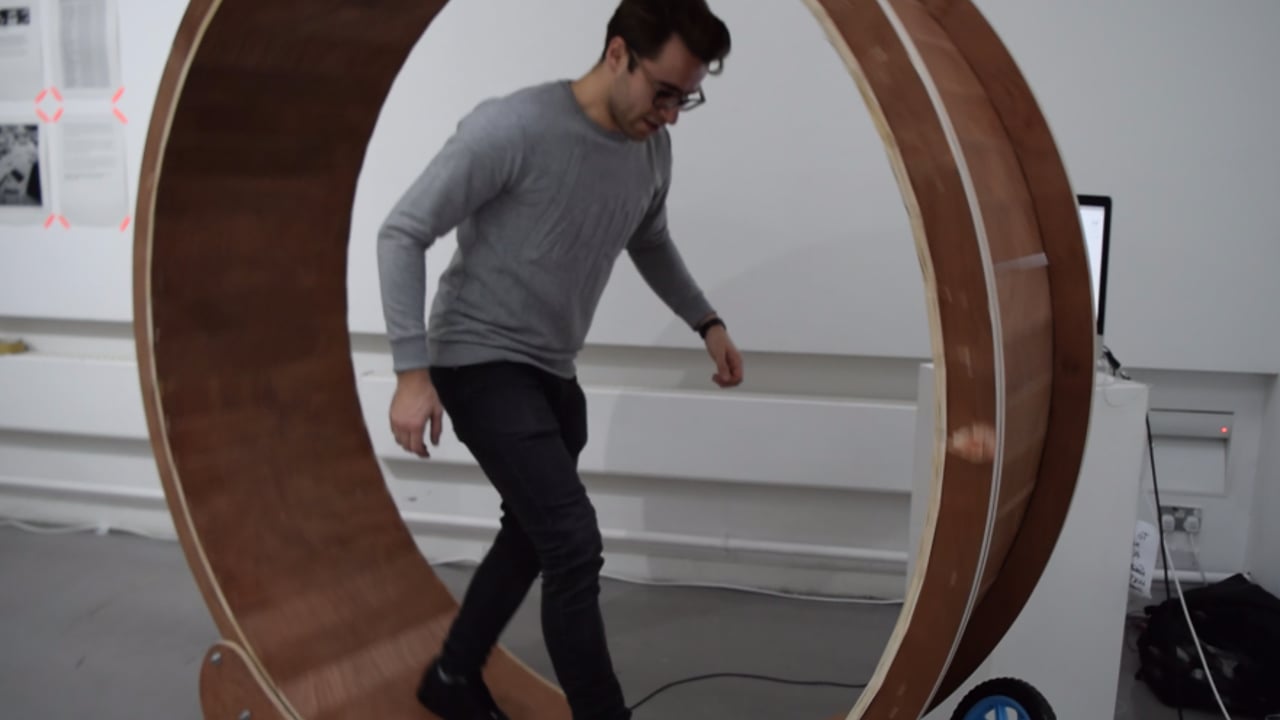
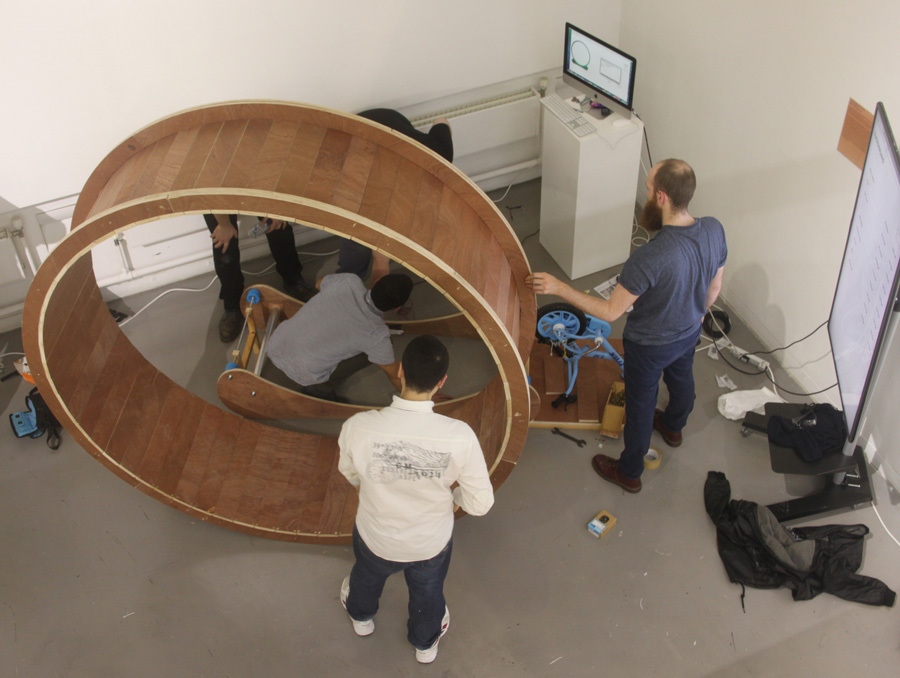
17. Ready for the exhibition.
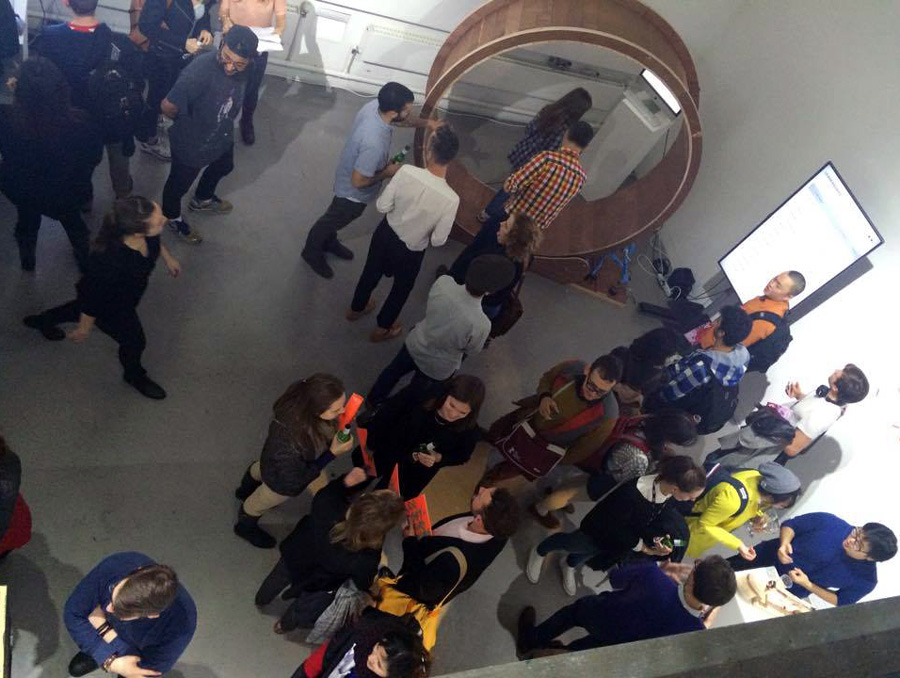
18. The exhibition is on.
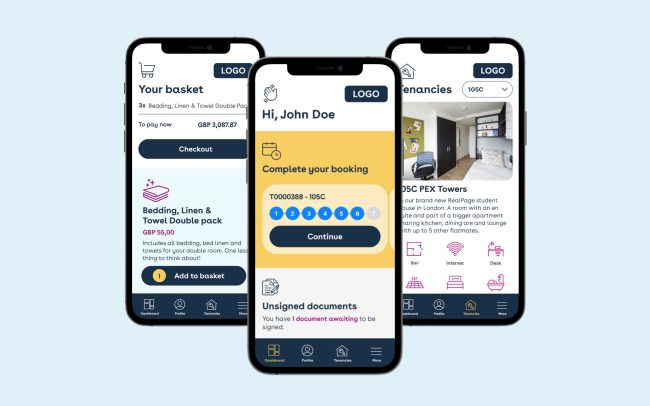
The App
The interface, consisting basically of four screens, is connected through Node.js to an Arduino and this to all effect sensors.
See how it has been developed
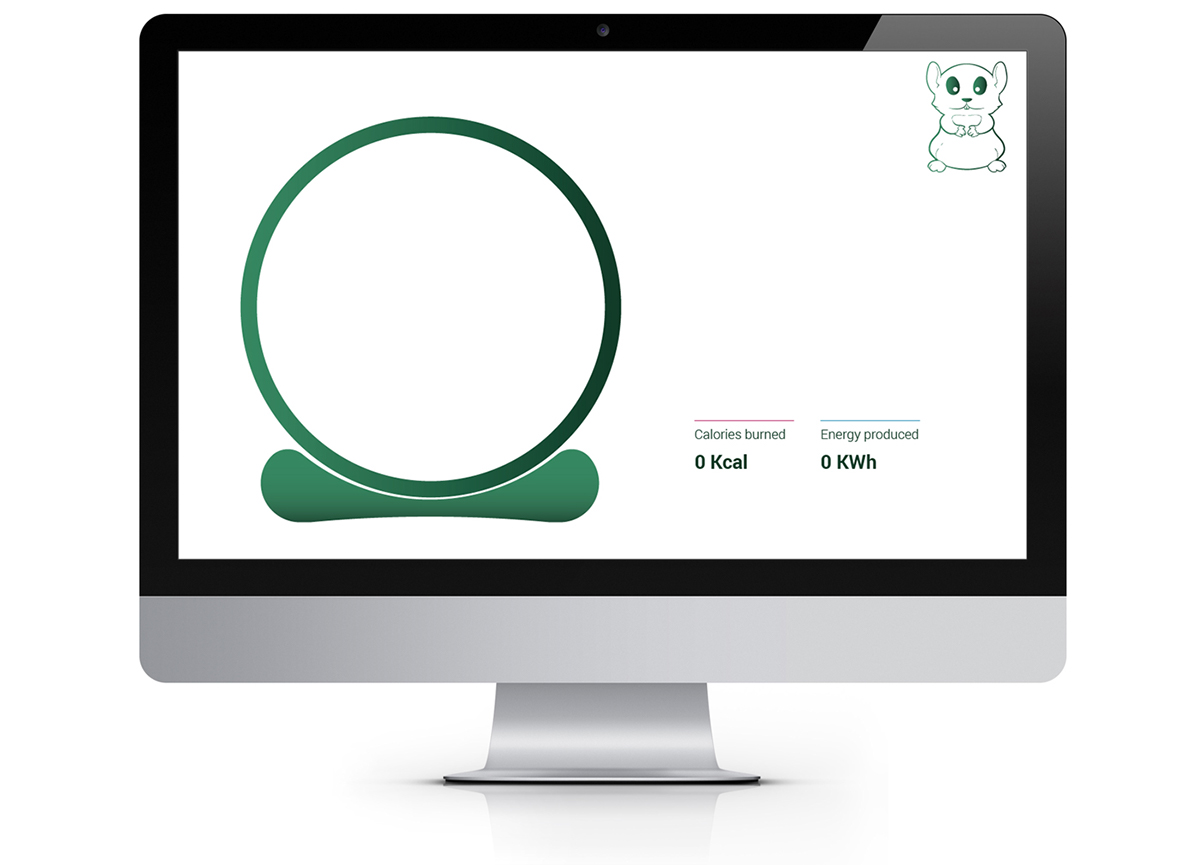
1. First/initial screen.
The wheel will be still and the value of calories burned and energy consumed will be null.
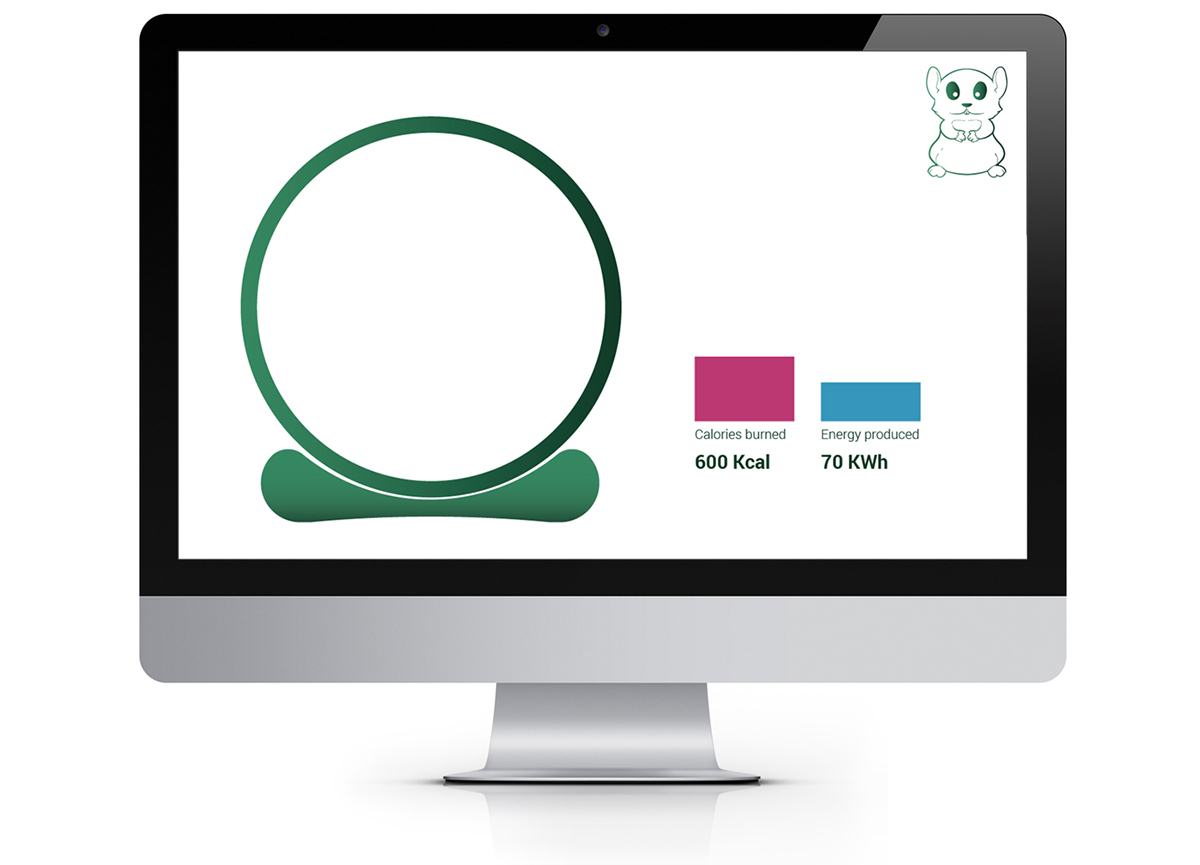
2. Second screen.
As the hamster wheel will be in motion also the illustration of the wheel will rotate and calories and energy will rise gradually according to speed and time of the user’s performance.

3. Third screen.
After 5 seconds that the wheel will be still (assuming that the user has finished his performance and not just taken a short break), the screen resuming the performance will come up and users will be asked to enter first and last name and weight. The weight is important to calculate the right amount of calories, which otherwise are calculated following and average weight of 60kg.
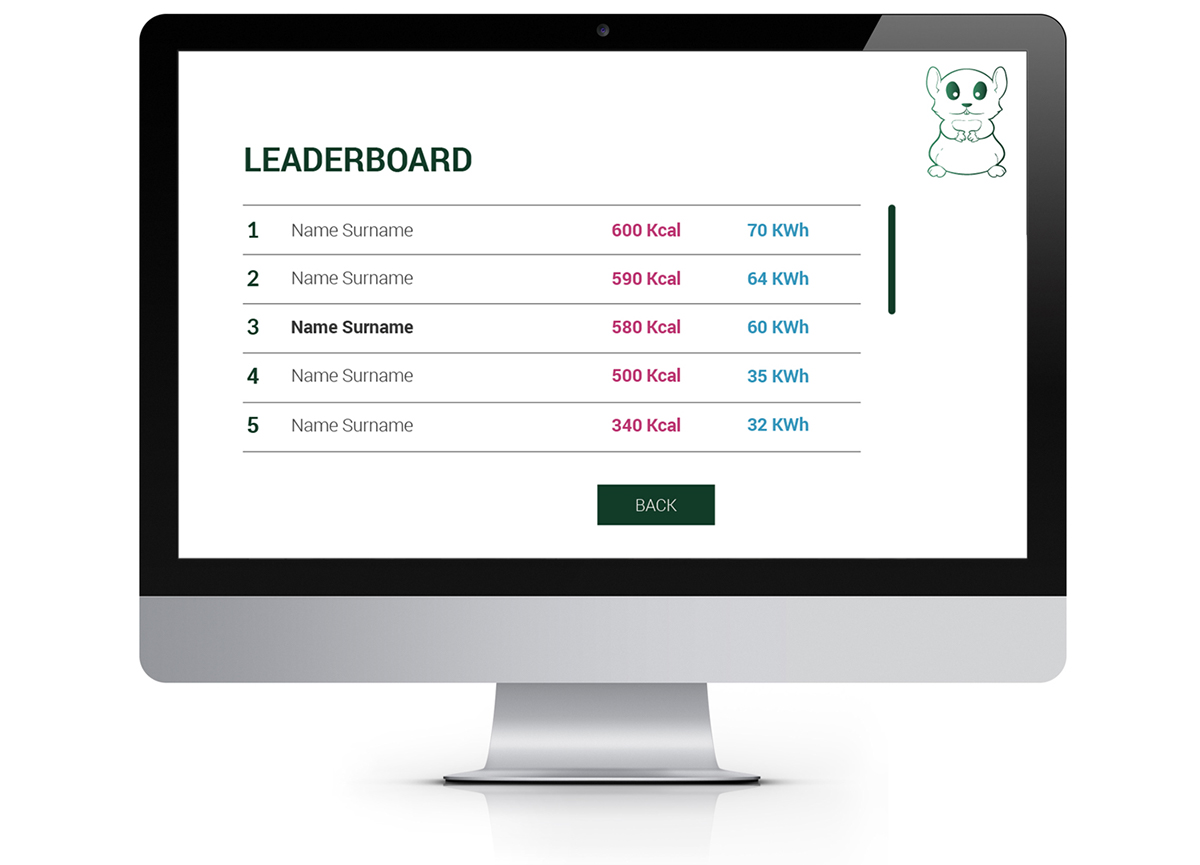
4. Fourth screen.
After having entered the information asked above, users will be placed in a leaderboard. Pushing back this page will redirect to the initial one, however if someone starts to run again, screen one will be skipped for screen two.
The booklet
Explanatory booklet where are collected sketches and ideas which brought to the development of the project.